Guides
Lecture notes photo to text for study guides
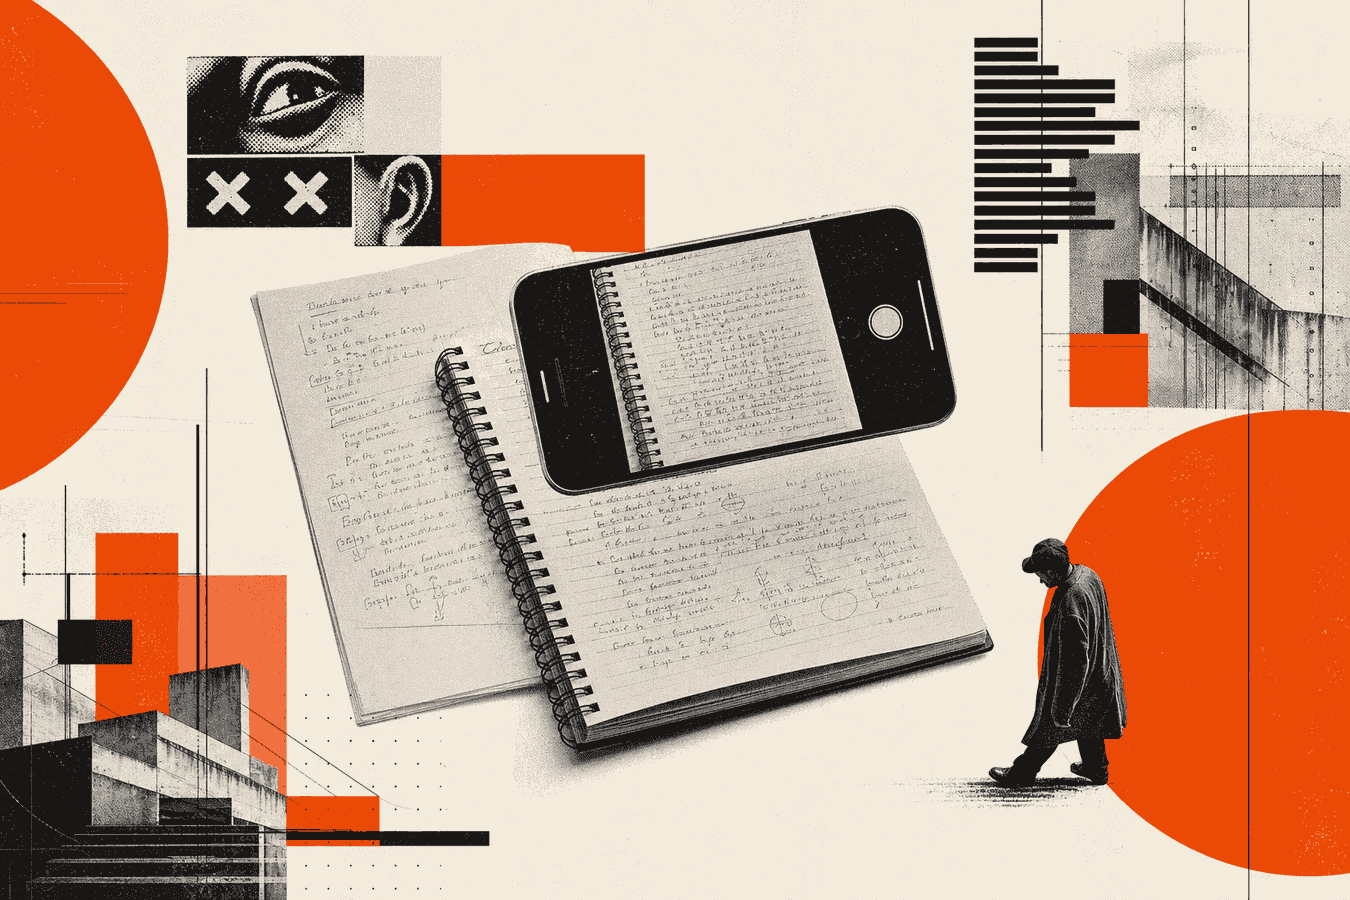
Paper lecture notes work in class and fail at exam time. You cannot search a binder for “mitosis” or paste a margin scribble into flashcards. Handwritten notes to text from a clear phone photo gives you a draft you can search, edit, and fold into a study guide. Shoot one page, run OCR, fix names and formulas by eye, then save plain text or structured Markdown. This guide covers photo prep, a browser walkthrough, how to turn OCR into review material, and when messy writing needs a second pass. Start with Handwriting to text. For headings and lists headed to Notion or Obsidian, use Notes to Markdown.
Why lecture notes stay stuck on paper
You write fast in class. Arrows, abbreviations, and side columns pack meaning that a blank Word page does not. After the lecture, that density becomes a liability. You reread whole pages to find one definition. Shared study groups need typed excerpts. Accessibility tools need text, not ink.
Search is the first gap. Phone gallery apps index filenames and EXIF, not your handwriting. Cloud note apps that store image attachments with no text layer leave you scrolling thumbnails. Typed text unlocks find-in-page, quiz generators, and citation into essays.
Share is the second gap. Classmates cannot annotate a photo the same way they edit a doc. Tutors ask for typed questions. Office hours go faster when you paste the unclear paragraph instead of holding the notebook to a webcam.
Retention is the third gap. Active recall needs short prompts. Cutting a typed section into Anki cards or a quiz list is faster than rewriting every line. Digitize handwritten notes once, then reuse the same text across formats.
OCR is a draft, not a finished guide. The model misreads rushed symbols and your own shorthand. Plan a short human pass after every page. That habit beats a perfect-looking transcript with wrong dates and drug names if you ever mix medical electives into the stack.
What you can try before a dedicated OCR tool
You have three common paths: retype, use a phone “live text” feature, or upload a photo to a handwriting OCR page.
Retyping teaches the material and costs hours. Use it for one dense formula page or a short quote you must get exact. Skip it for a full week of lectures.
On-device live text works for clear print and some handwriting. Hold the camera over the page, select the recognized block, and paste. It struggles with faint pencil, overlapping arrows, and multi-column layouts. Fine for a single definition; weak for a whole notebook.
Browser OCR fits when you want a full-page draft without installing an app. Upload JPG, PNG, WebP, GIF, or a short PDF, copy the result, and edit. For a no-install overview of that path, see Convert handwriting to text without installing an app.
Skip tools that force a desktop install for a one-off exam week. Skip apps that store every lecture in a proprietary cloud you cannot export. Prefer a path that returns plain text or Markdown you own.
Retype vs OCR for a study week
Retype when the page is short, the stakes are high (exam sheet, graded rewrite), or the ink is too faint for any camera. OCR when you face many pages and need search plus a first draft.
Mix both. OCR the narrative paragraphs. Retype three critical equations by hand into LaTeX or your formula editor. That split keeps speed without trusting OCR on symbols that decide a grade.
Phone live text vs upload
Live text keeps the photo on the device. Upload OCR helps when live text returns empty blocks or merges columns. If the course notes hold grades, IDs, or clinical details, read the privacy section below before any upload.
How to photograph lecture pages for OCR
OCR quality tracks the photo more than the brand of converter. A flat, bright page beats a clever filter on a shadowed spiral notebook.
Use even light from a window or desk lamp. Avoid overhead bulbs that throw a hard shadow from your hand. Skip flash if it glares on glossy paper.
Fill the frame with one page. Crop margins later if needed, but keep all ink inside the shot. Curved pages near the binding hide words; press the book flat or shoot left and right pages as separate images.
Hold the phone parallel to the paper. Extreme angles warp lines and confuse line breaks. Steady the device for a sharp shot; motion blur turns “b” into “[?]”.
One page per upload works best. Multi-page PDFs are fine when each page is clear, but start with a single photo while you learn the failure modes. File size stays under 8 MB for Toolsy OCR tools.
Light, angle, and focus
Stand so your body does not shade the page. If the room is dim, raise ISO or add a second lamp; a long exposure smears ink. Tap to focus on the densest writing, not on a blank margin.
Check the preview: if you cannot read a word with your own eyes at 100% zoom, the model will invent garbage. Reshoot before you upload.
Cropping and one page at a time
Crop out desk clutter, other notebooks, and your fingers. Leave a thin margin so edge letters stay intact. Spiral holes and ruled lines are fine; heavy highlighter bleed can still confuse contrast, so prefer ink that stays readable in grayscale.
For camera technique beyond this article, see Phone camera tips for better OCR.
Convert handwritten notes to text in the browser
Open Handwriting to text. Upload the lecture photo or PDF page. Wait for the transcript. Copy the text into your notes app, Google Doc, or a local .md file.
The tool returns recognized words with meaningful line breaks and paragraphs. It does not rewrite your voice or “fix” spelling that is already readable. Unreadable fragments become [?] instead of a confident wrong guess. That marker is a feature: treat every [?] as a stop and look at the paper.
Supported inputs include JPG, PNG, WebP, GIF, and PDF up to 8 MB. Keep language as written on the page. If you photographed two pages in one image, expect mixed order; shoot separately next time.
After the first page succeeds, batch the rest of the lecture the same way. Name files by date and topic (2026-03-12-cell-bio-p3.jpg) so your study folder stays sortable.
When the page is already structured with headings and bullets you want to keep, switch to Notes to Markdown. That path returns # / ## headings, lists, and paragraphs instead of one flat block. Paste into Notion, Obsidian, or a repo without rebuilding outline levels by hand.
Plain text vs Notes to Markdown
Use plain handwriting to text when you need a quick paste into email, chat, or a quiz tool that wants raw prose. Use notes to Markdown when the page shows a clear hierarchy: titled sections, numbered steps, nested bullets.
Diagrams become short captions such as (diagram: A → B) in the Markdown tool. You still redraw complex figures yourself. Inline math may appear in $...$ when the source shows simple formulas; verify symbols before you trust them in a study guide.
What the result looks like
Expect a readable draft with the same language as the notebook. Expect mistakes on abbreviations, proper names, and cramped superscripts. Do not expect perfect table alignment from a freehand grid; redraw tables if grades depend on them.
If the output is empty or nonsense, reshoot with better light. If a single corner failed, crop that region and run OCR again, then merge the texts by hand.
Turn OCR text into a study guide
Raw OCR is not a study guide yet. You still select, label, and test yourself.
Paste the draft into a working doc titled by course and date. Add a one-line summary at the top in your own words. That summary becomes the map for later review.
Split the page into chunks: definitions, processes, examples, and open questions the lecturer flagged. Mark anything the professor called “exam likely.” Delete doodles and side chatter that will not appear on the test.
Build active recall from the clean text. Turn definitions into cloze deletions. Turn processes into ordered lists you hide and rewrite from memory. Keep a “fix me” section of questions you could not answer while cleaning the OCR.
Share a cleaned excerpt with a study partner, not the raw [?] dump. Agree on one canonical file per lecture so edits do not fork into three conflicting versions.
Headings, lists, and flashcards
Promote visible notebook headings to Markdown ## sections. Keep lecturer numbering when it matches the syllabus. Export short definition pairs to your flashcard app; leave long proofs in the guide body.
If you already use Obsidian or Notion daily, Notes to Markdown shortens the tidy-up. You still own the card-writing step. OCR does not know which fact is worth a card.
Formulas and diagrams
Treat formulas as high-risk OCR. Compare each index, fraction bar, and Greek letter to the page. For heavy math pages, a Pro path such as Handwriting to LaTeX can draft code for Overleaf; you still proof the symbols.
Redraw diagrams in your own sketch or describe them in one sentence under the caption the OCR left. Do not let a wrong arrow in a pathway diagram survive into the shared guide.
Check the draft against the original page
Open the photo and the text side by side. Read names, dates, numbers, and unit labels first. Those errors hurt more than a missing adjective.
Scan for [?] markers. Fill each from the notebook or leave a highlighted TODO if the ink is gone. Guessing defeats the point of the marker.
Watch for merged lines where two columns sat side by side. Split them. Watch for dropped margin notes; decide if they belong in the guide or in a parking lot file.
Read once for sense. If a sentence contradicts the lecture memory, trust the paper over the model. Fix the text, then mark the notebook with a small “digitized” check so you do not OCR the same page twice.
Budget time: a clean page may need two minutes of QA; a dense, arrow-heavy page may need ten. That QA is the study session. You reread with purpose while you correct.
Privacy, limits, and when not to upload
Class notes sometimes include grades, student IDs, clinic vignettes, or unpublished research. Decide the trust boundary before you upload.
Toolsy OCR tools use the file to return a result and do not keep uploads longer than needed for that response. Unclear passages stay marked [?] rather than invented prose. For a fuller upload checklist, read Is it safe to upload documents online? and What happens to files after processing?.
Do not upload notes you are not allowed to share under course or hospital rules. Prefer on-device live text or a local scan for those pages. Strip location EXIF from photos you will send elsewhere if the classroom location matters; see Remove EXIF GPS before sharing photos.
OCR fails on severe blur, extreme cursive, heavy cross-outs, and pages shot in the dark. It is the wrong tool when you need a certified transcript or legal record. It is the right tool when you need a personal study draft from readable ink.
Whiteboard photos from seminars follow a related workflow; see Whiteboard photo to text after meetings when the “lecture” lived on a board instead of a notebook.
Frequently asked questions
How do I turn handwritten notes to text from a lecture photo?
Shoot one flat, well-lit page with your phone. Upload the image to Handwriting to text, then copy the draft into your study doc. Check names, dates, and [?] markers against the paper before you build flashcards.
Can I convert handwritten notes to text online without an app?
Yes. A browser tool accepts the photo and returns editable text. You avoid install friction during exam week. Keep using the same upload settings page after page so quality stays consistent.
How do I digitize handwritten notes for Notion or Obsidian?
Run Notes to Markdown on pages with clear headings and lists. Paste the Markdown into Notion or a vault file, then fix hierarchy by eye. Plain handwriting to text works when you need unstructured prose.
Does OCR work on messy lecture handwriting?
It helps when you can still read most words at full zoom. Expect more [?] markers and wrong guesses on cramped abbreviations. Retype the worst lines and OCR the rest.
How do I scan handwritten notes to text with my phone?
Use the camera like a scanner: overhead angle, full page in frame, sharp focus. Upload that image to OCR rather than relying on a PDF “scan” that is still blurry. Reshoot if glare hides a column.
How do I convert handwritten notes to text on iPhone?
Photograph the page in Camera, or try Live Text on a clear shot. If Live Text misses blocks, upload the same photo to a browser OCR page on Safari. Always verify numbers and proper nouns on the screen next to the notebook.
What file types work for handwritten notes OCR?
JPG, PNG, WebP, GIF, and PDF pages are typical. Stay under 8 MB. One clear page beats a huge multi-page scan with mixed lighting.
Handwritten notes to text vs notes to Markdown: which should I use?
Choose plain text when you want a quick copy into any app. Choose Markdown when you care about headings, bullets, and paste targets like Obsidian or Notion. Both still need a human QA pass.
Is it safe to upload class notes for OCR?
Only upload notes you are allowed to process off-device. Prefer tools that discard uploads after processing. Keep graded exams, IDs, and confidential clinic notes on local or school-approved paths.
What should I do when OCR returns [?]?
Open the original photo, read the unclear word, and type the fix yourself. Leave a highlight if the ink is unreadable so you can ask a classmate. Do not let the model invent a confident substitute.
For the general no-install handwriting path, see Convert handwriting to text without installing an app. For sharper source photos, use Phone camera tips for better OCR. Meeting boards instead of notebooks: Whiteboard photo to text after meetings. Teachers grading submitted homework photos: Digitize handwritten assignments from homework photos for grading.
Handwriting to text
Upload a lecture photo or scan, copy the words, then edit names and numbers against the page.