Guides
Scanning fragile papers without a flatbed
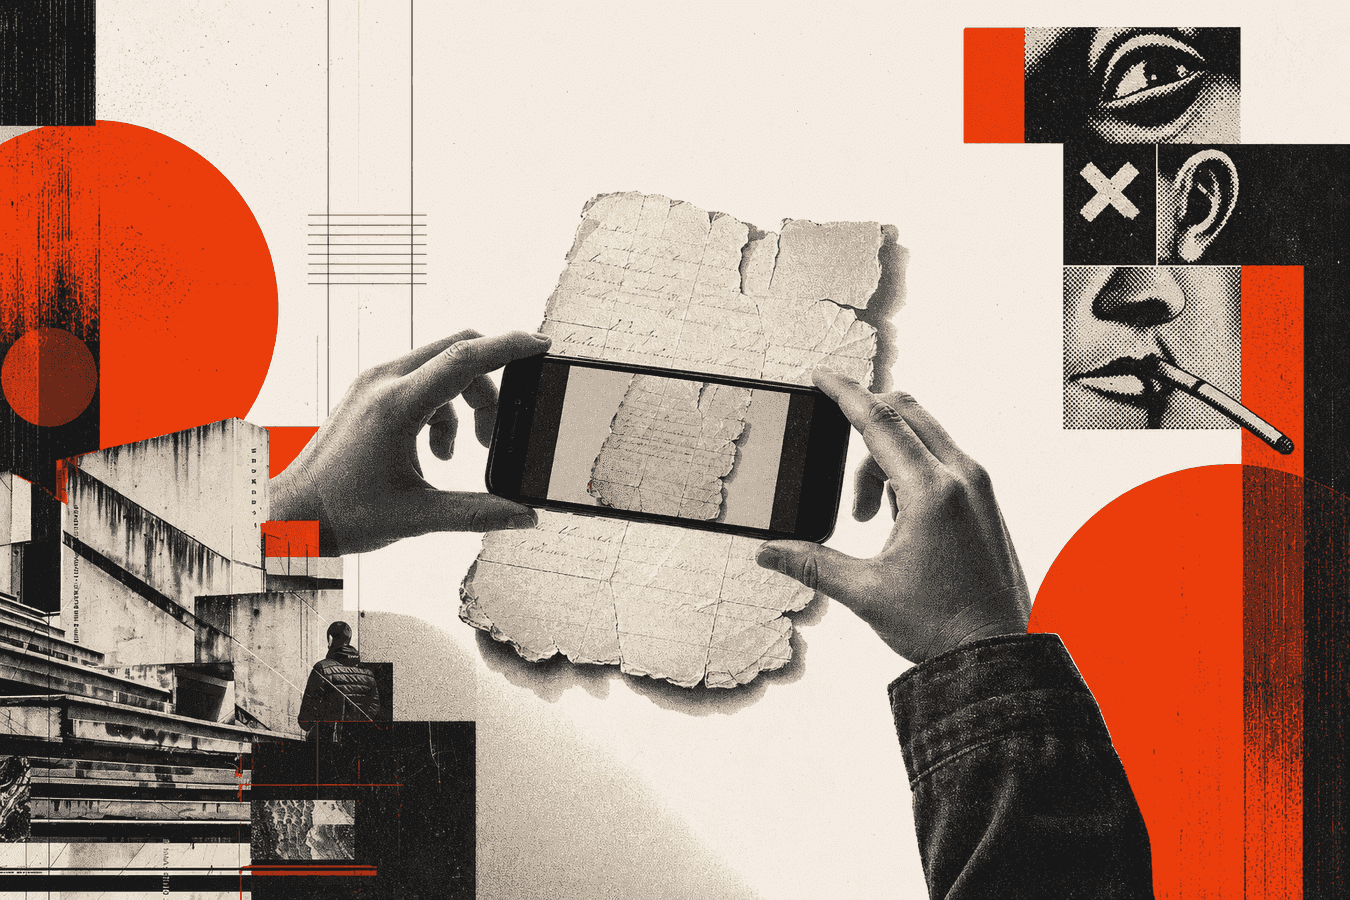
A flatbed lid can crack brittle edges, pull ink with static, or force a crease you cannot undo. You can still scan old documents with a phone: soft light, a flat support, no glass crush, and one page per shot. Treat the paper like the primary object. The camera comes second. Once the frame looks sharp and even, upload to Historical Manuscript OCR for a typed draft, then check names and dates against the original. For lighting, angle, glare, and focus detail that applies to any OCR photo, keep Phone camera tips for better OCR open beside this guide.
Why fragile paper fights a flatbed lid
Flatbeds assume you can press a sheet flush under glass. Family letters, onionskin, and foxed scrapbook pages often fail that test. The lid adds weight across thin fibers. Corners tear. Creases deepen. Static on plastic and glass can lift loose flakes of ink or paper dust.
Heat and light from the lamp cycle matter less for a single home scan than physical crush, but repeated contact still stresses already weak folds. Bound diaries and album pages add another problem: the gutter sits far from the glass plane, so you press harder to “get everything,” and that is where spines crack.
You also lose control of the session. Once the page is under the lid, you cannot see a new tear form until you lift the glass. Phone capture keeps the sheet in view the whole time. You stop the moment something shifts.
If the paper is already powdering at the edges, skip any press method. Photograph it as it sits, supported from below, and accept a slight curve over a permanent break.
Phone vs flatbed for scanning old documents
Phones win when you need speed on loose sheets you can support without force. You set your own light, change height in seconds, and shoot again if one corner softens. For genealogy stacks and shoebox letters, that loop beats packing the paper into a scanner bed.
Flatbeds still help when you need geometric fidelity for large maps, when the sheet is tough enough to lie flat under light contact, or when a conservator already approved a glass sandwich. Most home users scanning old documents with a phone never reach that bar. Your job is readable ink, not museum geometry.
Built-in scan modes on iPhone Notes or Android Drive straighten edges and spit out a PDF. Those tools suit sturdy receipts. On fragile letters, heavy auto-enhance can wipe faded pencil and warm brown ink into white noise. Prefer a careful Camera still when the ink is light, then crop later. More on that trade-off sits in Phone camera tips for better OCR.
Use the phone for capture. Use OCR for typing help. Keep the original paper as the source of truth for names, places, and dates.
Lighting for faded ink and thin paper
Even light across the whole sheet beats a bright center and dark margins. Stand so daylight or a single lamp hits the face of the page from the front or side. A window behind the paper turns the sheet into a silhouette and kills contrast for OCR.
Turn flash off. Flash on yellowed paper and glossy album sleeves creates white patches that erase strokes. If the room is dark, move a lamp to the side or shift to a brighter room instead of firing straight at the ink.
Watch mixed color temperatures. One warm desk lamp and a cool ceiling light can make iron-gall brown look black in one corner and gray in another. Pick one source when you can.
Before you shoot, read the live preview for flat brightness. If one edge drops into shadow, rotate the sheet or your body until the tone looks even. That check alone saves many OCR failures on faded letters.
Soft daylight versus lamps
Soft daylight near a north window (or any window without hard sun stripes) is the default for brittle paper. Hard midday sun through glass paints hotspots and can warm thin sheets. Diffuse light with a sheer curtain if you must shoot near a bright window.
A single LED lamp at 45 degrees often works indoors. Raise it until shadows from your hands leave the writing. Avoid two lamps from opposite sides if they fight and leave a dark band across the middle.
Thin sheets and show-through
Onionskin and cheap wartime paper show print from the reverse side. Slip a dark card or sheet of black paper behind the page you are shooting. The dark backing blocks ghost text and helps the camera lock on the ink you care about.
Do not tape the dark sheet to the letter. Hold it with clean dry hands at the margin, or rest both sheets on a larger board so neither slides.
How to photograph old letters without crushing them
Support the letter from below on a clean, rigid board or closed book larger than the page. Leave the paper free on top. Do not cover it with glass, acrylic, or a plastic sleeve under pressure. Clear weights on the far corners can tame a curl if the paper can take light touch; stop if you hear a crackle or see a whitening crease.
Hold the phone so the lens sits above the center of the page. Keep the long edges of the paper parallel to the frame. A strong trapezoid warps letter shapes and hurts line detection for OCR.
Fill the frame with the page, then leave a thin margin. Cropping later is fine; cutting off a signature line is not. Shoot one page per image. Stacked letters in one shot confuse both you and the model.
Tap to focus on the ink, not the board. Wait for focus lock. Steady the phone with two hands or rest your elbows on the table. Motion blur merges connected script faster than you expect.
Distance, rear camera, and resolution
Start about one page-width above the paper, then adjust until the full sheet looks sharp in preview. Prefer the main rear camera over ultra-wide. Ultra-wide bends edges and softens corners on large sheets.
Use the highest quality still your camera app offers. Skip heavy “document” filters that crush midtones if you still need to read light pencil by eye. A clean, sharp photo is enough for most OCR uploads. Historical Manuscript OCR accepts JPG, PNG, WebP, GIF, and PDF up to 8 MB; compress gently if the file is huge, without wiping stroke detail.
iPhone and Android capture shortcuts
On iPhone, Camera or Notes scan both work for sturdy pages. For fragile letters, Camera gives you more control over exposure and avoids aggressive whitening. On Android, Camera or your phone’s scan feature is fine if the preview still shows gray pencil and brown ink as distinct tones.
If auto-enhance posterizes the page, discard that take and shoot a normal photo. You can straighten and crop in Photos or Files before upload. Platform button guides for general phone scanning live in Phone camera tips for better OCR; this article’s rule is gentler handling first.
When not to force a fold
Do not open a letter against a stiff crease if the fold line looks white, fibrous, or already split. Photograph each panel as a separate image. OCR can run on each panel; you reassemble the reading order by eye.
Do not flatten a water-cockled sheet under books overnight as a “quick fix” before a scan session. Drying and humidification belong with a conservator when the paper is valuable. For a home digitization pass, shoot the cockled surface with side light that does not erase ink in the valleys, and accept that some lines will need a second angle.
Do not peel a letter off sticky album paper by yanking. Stop. Photograph it in place if you can frame the text, or get advice before you tear the sheet. A partial photo with intact paper beats a perfect crop of shredded edges.
If mold, active pests, or a strong vinegar smell appear, isolate the item and pause the project. Digitization can wait; contamination spreads through a shoebox fast.
From phone photo to searchable text
When the preview looks sharp, even, and fully in frame, open Historical Manuscript OCR. Upload one page. Wait for the typed draft. Copy it into your genealogy notes or a plain text file beside the photo.
The tool keeps original spelling when it can read the hand. Unclear or torn passages should appear as [?] rather than confident wrong guesses. Treat [?] as a cue to reshoot, adjust light, or type that span from the original.
You do not need a flatbed for this step. The phone photo is the input. If the handwriting is modern and clear rather than archival script, Handwriting to Text covers the same capture-to-text path on a free daily allowance.
After conversion, delete local copies you no longer need if the content is sensitive. Toolsy uses uploads for recognition and does not keep them longer than needed for the result. For retention detail, read What happens to files after processing and Is it safe to upload documents online.
Check the result, then decide: edit or reshoot
Proofread against the paper. Prioritize surnames, place names, dates, money figures, and kinship terms. Skim for doubled lines and missing breaks; skewed pages often join or split lines in OCR output.
If a whole region fails, fix the photo first. Add light, kill glare, support the page so it sits flatter without force, tighten the crop, and lock focus again. Run OCR once more. One careful reshoot beats fixing fifty wrong characters.
If only a few words fail, type those by hand from the original. Keep the OCR draft for the bulk of the page. Mark uncertain readings in your notes so later researchers know what you guessed.
Save both the clean photo and the corrected text if you want an audit trail for yourself. Do not treat OCR output as a certified transcript.
Related jobs: letters, archives, and full shoebox workflows
Family letter batches need naming, order, and privacy choices as much as capture. Walk that path in Digitize family letters for genealogy.
Hard English archival hands (secretary hand, faded iron-gall, cramped margins) need reading strategies beyond a single photo tip. Continue with Read old handwriting in English archives.
When the pile is a whole shoebox, you need a folder plan and a search habit, not only one good shot. Shoebox to searchable family archive covers that workflow.
Capture quality still gates every path. Return to Phone camera tips for better OCR whenever glare, angle, or focus keep failing. For modern notes instead of manuscripts, Handwriting to Text stays the lighter tool.
Limits, privacy, and when to stop
Phone capture fails on deep book gutters you cannot open without damage, gold foil that flares under any light, and sheets too large to keep sharp in one frame. Split oversized pages into overlapping shots only if the paper can handle repositioning. Otherwise, seek a library scanner or a conservator-approved setup.
Do not upload someone else’s private letters without permission. Living people named in recent correspondence deserve care; redact or keep files offline when needed. Strip EXIF location before you share the photo file itself; see Remove EXIF GPS before sharing kids' photos.
If the paper is a unique legal or heirloom item and you feel resistance at a fold, stop. A soft photo of an intact sheet beats a sharp photo of a broken one. OCR can wait.
Frequently asked questions
Can I scan old documents with a phone instead of a flatbed?
Yes, for most loose letters and single sheets that you can support without pressing them under glass. Use even light, hold the phone square above the page, and shoot one page per image. Upload a sharp photo to Historical Manuscript OCR when you want typed text. Keep the original as the check copy for names and dates.
What is the best way to scan old documents at home without a scanner?
Support the sheet on a rigid board, light it from the front or side, and photograph with the main rear camera. Avoid flash and heavy auto-enhance on faded ink. Crop to one page, then run OCR if you need searchable text. Full camera technique for OCR sits in Phone camera tips for better OCR.
How do I photograph old documents so fragile edges survive?
Never force the page under glass or a heavy lid. Rest the sheet on a larger board, weight only corners that can take light touch, and stop at the first crackle. Shoot as the paper sits if a crease looks ready to split. Intact paper with a slight curve is better than a flat, torn sheet.
How should I take a picture of a document for later OCR?
Fill the frame, keep edges parallel to the screen, tap to focus on the ink, and wait for focus lock. Prefer even ambient light over flash. Crop desk clutter before upload. One focused page per file keeps the model on the words you care about.
How do I scan documents with my phone camera for genealogy letters?
Use Camera rather than an aggressive scan filter when ink is brown or pencil-light. Capture each letter page, name the files in reading order, and convert with Historical Manuscript OCR. Then verify surnames and places against the paper before you attach the text to a family tree.
How do I digitize old documents without crushing them?
Digitize means capture plus optional text. Capture with a phone and soft support; skip glass press. For text, upload clear photos to manuscript OCR or type hard passages by hand. Store photos and corrected text together so you can reopen the image when a reading is unsure.
Does a clear plastic sleeve help when I scan without a flatbed?
A loose archival sleeve can protect against fingerprints during handling, but do not press the sleeved page under a book or lid for the shot. Reflections on plastic create glare that OCR misreads. If you use a sleeve, angle the light until the reflection leaves the writing, or shoot the bare sheet on a clean board with washed hands.
How do I scan with an iPhone camera for brittle paper?
Open Camera, frame the letter, and hold steady until the preview looks sharp. Skip flash. If Notes scan over-bleaches faded ink, discard that take and use a normal photo. Upload the still to your OCR tool when you need text; Notes remains optional for PDF packing of sturdy pages.
How do I scan on an Android phone for old letters?
Use Camera or the built-in scan feature, then check that auto-enhance did not wipe gray strokes. Save a high-quality JPG or PDF under the 8 MB upload limit used by Toolsy manuscript OCR. Proofread output against the paper the same way you would on any phone.
When should I refuse to flatten a folded letter?
Refuse when the fold shows white fiber, an open split, or powdering edges. Photograph each panel separately instead. If the letter is stuck in an album or smells of mold, pause and get advice before you peel or press. The goal of a home scan is a usable image and intact paper, not a perfectly flat plane.
For letter batches and archive hands, continue with Digitize family letters for genealogy and Read old handwriting in English archives. For the full pile, see Shoebox to searchable family archive. Society scan days can point fragile-paper volunteers here and policy writers to Genealogy society member upload guidelines for digitized records. Keep Phone camera tips for better OCR nearby whenever capture quality slips.
Read old handwriting online
Upload a clear photo of one page from a letter or archive sheet. Get typed text you can search and copy. Pro tool. Files are used for recognition, then discarded when processing is done.